Table Of Content
So now, when this element selected, and it stretches, it is stretching accordingly. So once that is done, we are good to go, we can even apply constraints here to the right. And if I hold down, up, if I go ahead and make all of these components, create multiple components. And we know that it's a part of this component, because I'm actually clicking on the parent layer, holding down Command Shift H and hiding everything.
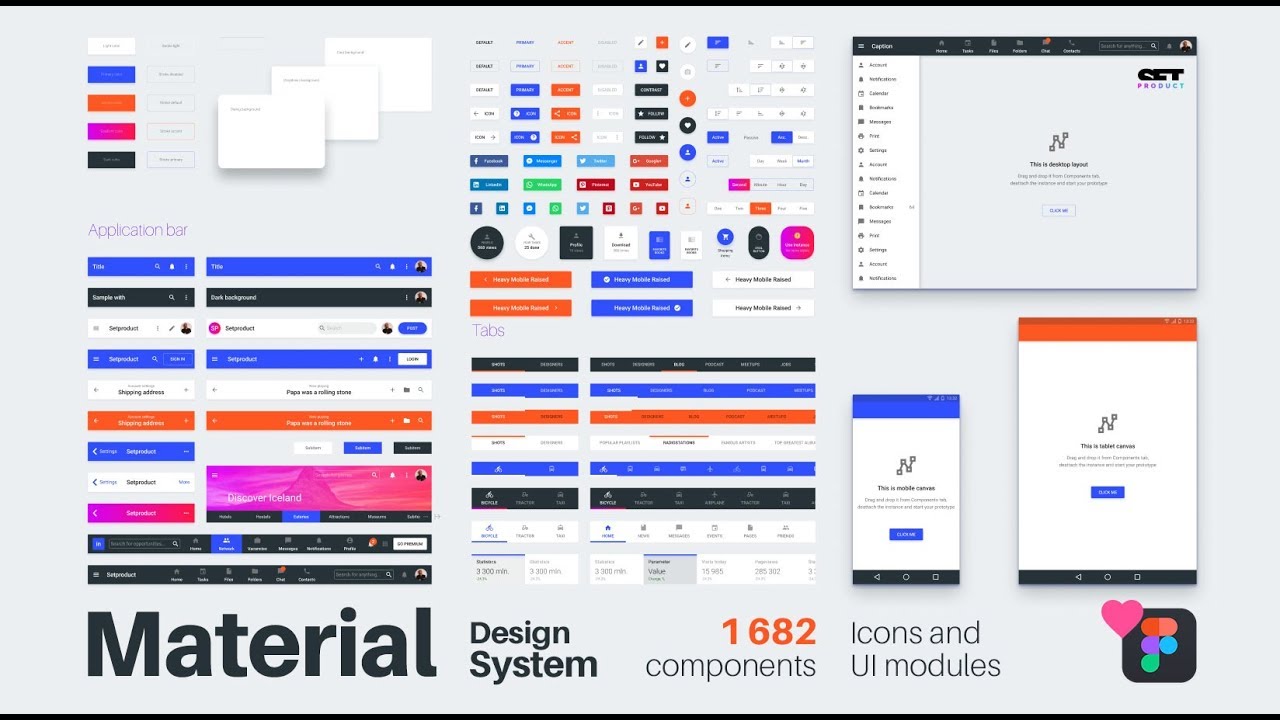
Material Design
UI Prep is a Figma design system UI kit for Figma created by Jake Tsacudakis and Molly Hellmuth—both familiar faces in the UI design world. Shipfaster UI has been designed for scalability and efficiency in mind. It is one of the few design systems and UI kits that solves the 2 issues we've raised earlier on in this article. Here are the 2 most common issues with most design systems and UI kits. A UI kit and design system helps you to streamline your workflow, improve your designs, and enable you to create pretty much anything you want to. Service design can help our organizations innovate customer experience and build brand loyalty — and it’s great for small businesses.

Figma design systems for Android-powered apps
So I'm actually going to save us some time duplicate these two Once these two are duplicated, we know that these don't use elevation, so we can remove that. So once that's constructed properly, I'm going to just imply that this is a contained button with an icon. What I'm going to do actually, since we're only focused on the construction of this component, and not autolayout is just disregard that so we get the specs perfect. So what I can do is actually use constraints here, set that to right, and center on the vertical axis right on the horizontal.
Slack Block Kit
And then we have access to the cars documentation here in this exercise file. And then we can stretch out this button by holding down command on the right handle, move it out twice. Now that set inside, I'm going to create a line that's one pixel in the hex values Triple E or six E's, the x value, then just set that to 48. So by just kind of tried to inspect that code there, it could give me a general idea of the spacing of the elements. So when you hover on it, those colors appear and you can see that it's actually encapsulated in a rectangle. And for the color of this, we need to go ahead and actually view this outline button.
So I'm going to Command click On these, hold Shift return to select the parent layers and copy that. And one thing about these columns is that there's there's five rows here, and in each column that are cut off, there's a sixth row that gets cut off, but we're going to save that and go ahead and implement our buttons once more. Or actually, we're going to want to group these in a column format, because on mobile, users will scroll through this, these columns vertically at imagine as opposed to horizontally. And what we can do if there's way too many elements here, if that's, that's difficult for you to read, well, maybe we can just clean this up by selecting them in a row format. And you'll notice that there's also a divider being used in this component, and then the content gets cut off under it.
The future of design systems is accessible
And if we haven't already, let's go ahead and change this fill to surfaces surface. Now with that said, let's go ahead and just start cranking this out, I'm going to grab the icons, I need here, my, my arrows here, left and right, I'm gonna need my copy this year. One thing we are going to want to do is create this selected state here, this selected this this range here of the between the the current date, the selected date, the start date, and the end date. Since we have, since we did apply constraints to these cells, all we have to do is detach them, renamed them properly.
Vitamin - Web UI kit↗
And with clip content specified, you now have an example with content, just make sure that the proper padding is set to the top there. So we have this this front layer here, if I go ahead and shrink this front layer expanded, and we now have a canvas for designer start adding content onto. We can do now is just specify this as our bare bones layout because designers will then go ahead and add in the actual The items necessary to this component. So I'm gonna go ahead and drag this in here and snap this to the top and left of the parent frame. And a backdrop appears behind all other surfaces in an app displaying contextual and actionable content.
Apple announces first official design kit for Figma with iOS 17 and iPadOS 17 resources - 9to5Mac
Apple announces first official design kit for Figma with iOS 17 and iPadOS 17 resources.
Posted: Wed, 07 Jun 2023 07:00:00 GMT [source]
Figma design systems you need to know about
And then you can go ahead and start stretching that out as needed to select your dates. Then I can group this, label this row three, row three left, then I can label this, whoops, I can group this as well, road to left. And then we're going to just create these rows here and there is no spacing between these cells. Row days, I can label this as row days or whatever you find most intuitive or most effective.
And we have that in our design system as a color style not only as a color style, but scrim that we can pull from our system. So what I can do is, is remove that auto layout and readjust that height. So I can't just manually adjust the height with auto layout implemented. And once I've specified that we are now good to go and we've created all of the chip types for our design system.
How Brands Can Benefit from Figma's New Product Launches 06/30/2023 - MediaPost Communications
How Brands Can Benefit from Figma's New Product Launches 06/30/2023.
Posted: Fri, 30 Jun 2023 07:00:00 GMT [source]
And then what I did was I just ensured that I created a proper rectangle for the background color, which was set to primary. So now we have the width stretching, what we need to do is apply the constraints again to right and center vertically, and then left and center vertically. Okay, so now that that's all done, just apply the proper colors again, set the content on surface and we're good to go. This bottom app bar, we have labeled as there's one with no floating action button. Today, we're going to be building out all of the variants for the app bar, specifically the bottom portion of the app bar, which is where you can think of as some bottom navigation. So I'm going to click on Create style here, this grid style, click on that layout grid settings icon and change that to columns.
So now that we've created this outline action chip, we can go ahead and duplicate it, and then create that as a main component. So we if we reset that you'll now it'll showcase that it's set to 12 on the left and right and is vertically centered, which is great on the y axis and we have now created our first chip and we can go ahead and bang out the two other chips here. So we've now created one of the more complex card components in material design one of the examples again, so I'm going to go ahead and challenge you to create this car component by yourself. And what we have what we're seeing here is our textbox should, let's specify the body to body one there wo two, body two, and text to body two and then go ahead and apply medium emphasis to the color style. And one thing you'll notice is that if I type into this component, I don't have essentially what I need, which is auto layout, because it will automatically adapt what I type and implement the proper spacing as needed as I type. And what we are going to need to do is detach this element, I'm going to do option command B, I'm not attached that is a regular frame, or you can right click and click detach instance, which detaches it from the main component.
And we're gonna start off with understanding what dialogues are and how they're used and why. And I'm gonna go ahead and do the same thing for the rest of these components. And then what I'm going to do is go ahead and shift click on on both of these in the Layers panel and hit shift a. So with that said, I'm going to go ahead and grab this chip here, to get a head start. And then I'm going to rename this filter chip, I'm gonna label that filter. And then I'm going to go ahead and rename this the the choice ship, and then enter and rename the frame as label.
So the spacing is not supposed to be set 24 on the left, it's supposed to be set to 12 for for the cells and that actually selecting the date and I have it set to 24. So we may want to push this over one pixel as it doesn't look centered optically. So we need to specify that set that medium emphasis, I can even duplicate this, whoops, can duplicate it, I'm sure that that's set to a number now. And now all we're going to do is select our columns, hold down Command and drag it to the to snap to our divider. And then we're going to ensure that we have a divider eight dips above.
And we can go ahead and create this confirmation dialog with long actions that are stacked. And now I just need to justify the spacing of between this text and the actions. And then I'm going to drag this text box down and ensure that that's set to 24.


No comments:
Post a Comment